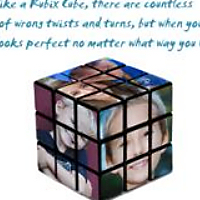
This is a simple tutorial that demonstrates how to change the perspective of photos in Corel Paint Shop Pro. This tutorial is compatible with Paint Shop Pro X2, X3, or any other PSP versions that offer the deform tool.
In this tutorial we will learn how to create a quick and easy, but stylish 5×7 Christmas card in Corel Paint Shop Pro X2. This tutorial should be compatible with every version of Corel Paint Shop pro, and can be easily followed in Adobe Photoshop, Gimp, Paint.net or any other Raster based photo editing program.
This is not necessarily a Paint Shop Pro X3 review, but more of a plea to Corel to restructure the direction they are trying to take with Paint Shop Pro.
I realize that many Paint Shop X3 users may actually prefer the new “on image” text editing features. Honestly, I would prefer the “on image” text editing too, if it worked correctly. The current state of the X3 text tool severely limits my productivity, and appears very buggy.
Corel has released the highly anticipated Paint Shop Photo Pro X3 today along with Corel VideoStudio Pro X3. If you want to try PSP X3 out you
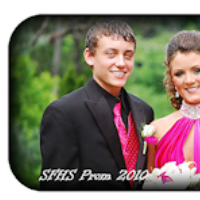
In this tutorial we are going to learn how to create round corners in Corel Paint Shop Pro X2. We are also going to apply an optional soft/faded edge effect. I have had several people request this tutorial, including my wife.
In this tutorial we are going to learn how to create a logo using Corel Paint Shop Pro X2. We are going to build an ATI logo from scratch. Many of the techniques used in this tutorial can also be applied when creating desktop backgrounds, dvd covers, book covers, magazines, etc. I got this tutorial idea from
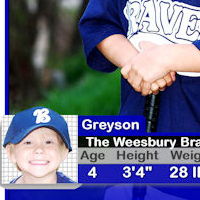
In the this tutorial we are going to learn how to make a simple Baseball or Sports Card Template in Corel Paint Shop Pro. Photoshop and Gimp users should be able to easily follow along as well.
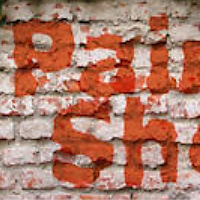
In this tutorial you are going to learn how to use displacement maps to create realistic looking overlay effects that appear to be actually painted onto the surface. Displacement maps simply follow the contour of any texture, and then produces natural looking distortion effects on the layer above it.
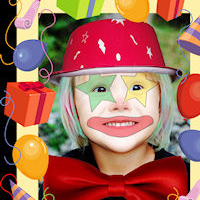
Here is a fun tutorial that your kids are sure to enjoy. In this tutorial I will teach you how to create a basic clown with Paint Shop Pro using a photo of your kids, relatives, or even yourself. This is my first attempt creating a clown, and it’s far from perfect.




Recent Comments